How to Build Your Own Backyard Skate Ramp
25 August 2025
Skateboarding is more than just a sport—it's a lifestyle. Whether you're a seasoned skater or just getting started, having your own backyard skate ramp is a dream come true. Imagine waking up, grabbing your board, and hitting the ramps without leaving your house. Sounds amazing, right?
Building a backyard skate ramp isn't as complicated as it seems. With the right tools, materials, and a bit of patience, you can create a custom ramp that suits your style. In this guide, we'll walk you through everything you need to know to build your own backyard skate ramp from scratch.
Why Build Your Own Skate Ramp?
Before we get into the nitty-gritty, let's talk about why you should build your own ramp instead of just heading to the local skatepark.- Convenience: No need to travel—you can skate anytime you want.
- Customization: Build the ramp to match your skill level and style.
- Cost-Effective: Over time, having your own ramp can save you money on skatepark entry fees and transportation.
- Skill Development: More practice = better tricks.
Now that you're convinced, let's dive into the step-by-step process. 
Materials and Tools You'll Need
You don’t need a professional workshop to build a backyard skate ramp, but you do need a few essential materials and tools.Materials:
- Plywood (3/8″ and 1/4″ thick) – Used for the surface of the ramp.- 2x4 Wooden Boards – For the frame and support structure.
- Masonite Sheet – Helps smooth out the riding surface.
- Screws (deck screws & wood screws) – To hold everything together.
- Galvanized Nails – For added support.
- Metal Coping Pipe – Provides a smooth rail for tricks.
- Concrete Blocks or Bricks (optional) – For extra stability.
Tools:
- Saw (circular or jigsaw) – To cut out the ramp shape.- Drill and Screwdriver – For assembling the frame.
- Measuring Tape – Ensures accuracy.
- Level – Keeps everything even and stable.
- Pencil and Chalk Line – Helps with marking cuts.
With your tools and materials ready, it's time to start the build. 
Step 1: Plan and Design Your Ramp
Before grabbing a saw, sketch out your design. Decide on the size and style of your ramp. Do you want a mini ramp, quarter pipe, or kicker ramp?Key Considerations:
- Available Space: Measure your backyard to ensure the ramp fits comfortably.- Skill Level: Beginners may want a smaller ramp, while experienced skaters can go bigger.
- Budget: Larger ramps require more materials, increasing costs.
A common beginner-friendly size is 3-4 feet high and 8 feet wide. This provides a nice balance between challenge and control.
Once you settle on a design, use chalk or string to outline its dimensions on the ground. 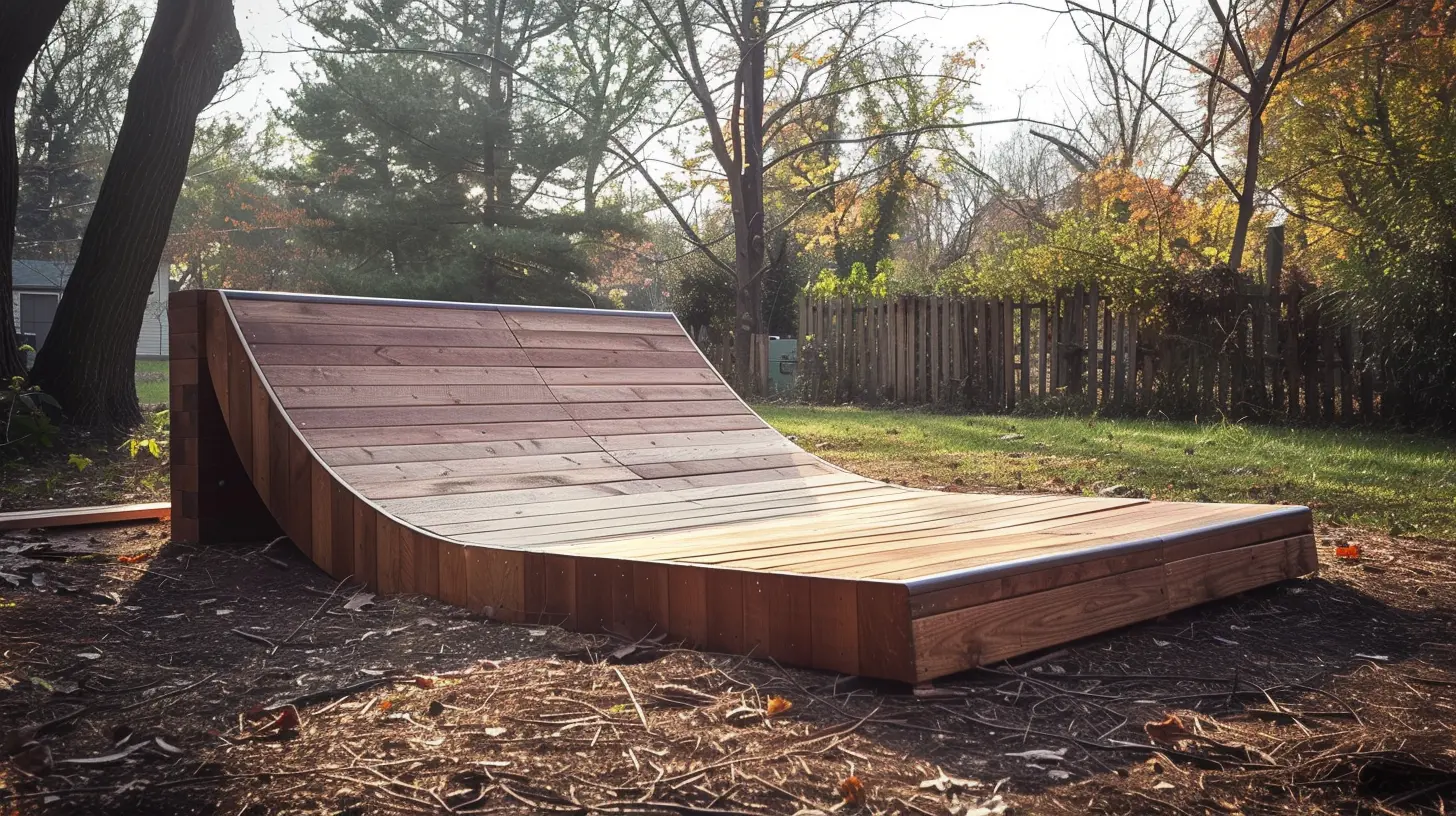
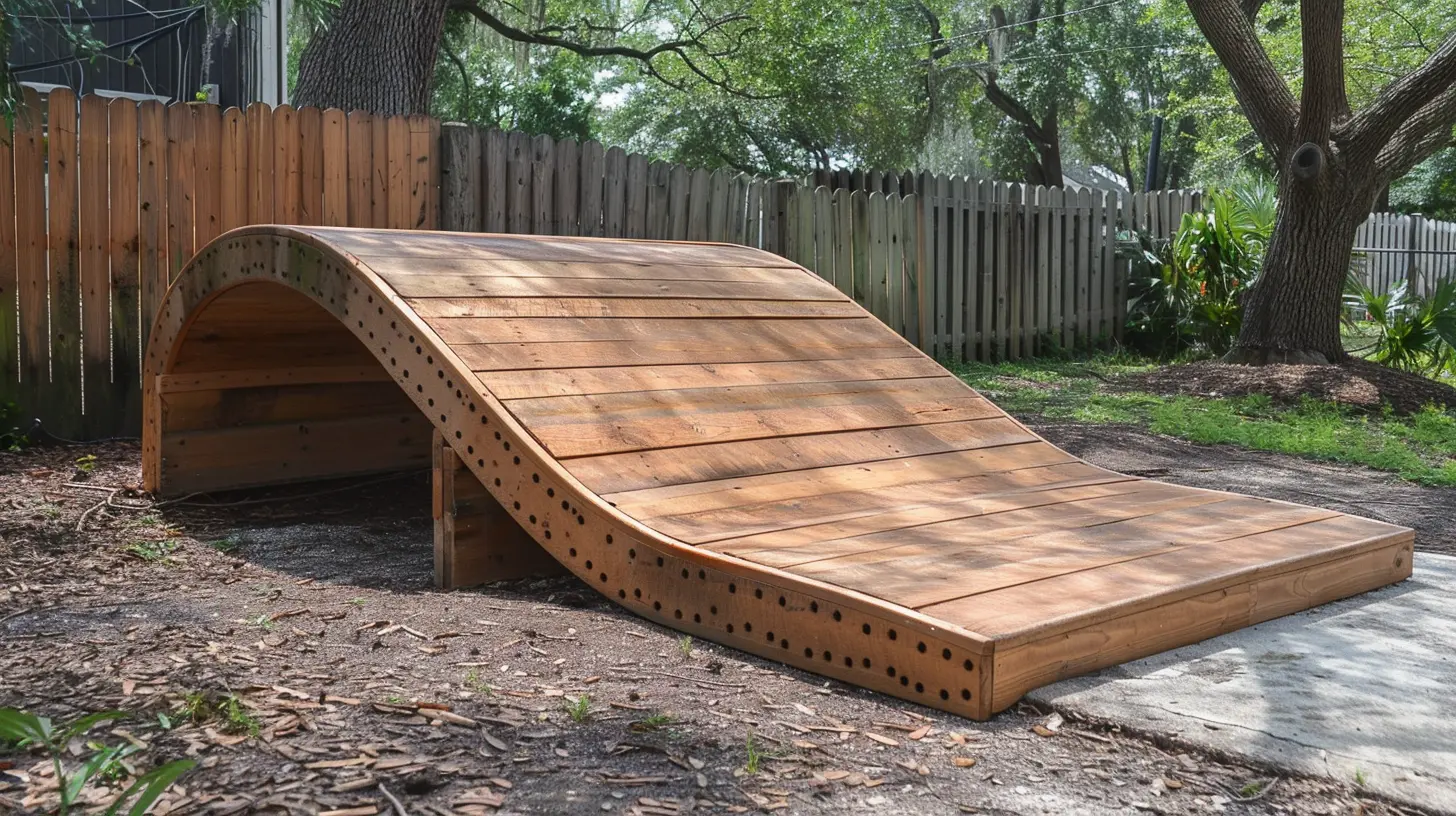
Step 2: Build the Ramp Frame
Think of the frame as the backbone of your ramp—it needs to be strong and stable.Instructions:
1. Cut the Side Panels – Use plywood to cut two identical side pieces that form the ramp's shape.2. Attach the Frame Supports – Use 2x4 wooden boards to connect the side panels. Space them evenly (about 8-12 inches apart) to provide maximum stability.
3. Reinforce the Frame – Secure everything with screws and nails to prevent wobbling.
Pro Tip: Before securing the frame, use a level to make sure it's even on all sides. An unbalanced frame could mess up your rides!
Step 3: Add the Riding Surface
Now comes the fun part—creating the smooth, rideable surface.Instructions:
1. Lay the Plywood Sheets – Start with the thicker (3/8″ plywood) as the first layer. Attach it securely to the frame using screws.2. Add a Second Layer – Use thinner (1/4″ plywood or masonite sheet) to create a seamless, smoother experience.
3. Sand Down Rough Edges – This gives the ramp a polished feel, reducing the risk of splinters.
For a professional touch, apply waterproof sealant to protect against rain and moisture. Nobody wants a warped ramp!
Step 4: Install the Coping
Coping is the metal rail at the top of a ramp that makes grinding tricks possible.Instructions:
1. Measure and Cut the Metal Pipe – It should match the ramp's width.2. Secure It with Screws or L-Brackets – Ensure it's tightly fastened so it doesn’t shift while skating.
Adding coping not only makes grinding easier but also increases the ramp's durability.
Step 5: Final Touches and Safety Checks
Before you start shredding, take some time to fine-tune your ramp.Check the Following:
✅ Are all screws tightly secured? Loose screws could cause accidents.✅ Is the ramp stable? If it wobbles, consider adding extra support.
✅ Does the surface feel smooth? If necessary, sand down rough spots.
✅ Is the ramp weatherproofed? Apply a sealant if you haven’t already.
If everything looks good, congratulations! You now have your own backyard skate ramp.
Maintenance Tips for a Long-Lasting Ramp
To keep your ramp in prime condition, follow these maintenance tips:- Keep It Dry: If your ramp is outdoors, cover it with a tarp when not in use.
- Tighten Screws Regularly: Loose screws can weaken the structure over time.
- Repaint or Reseal Annually: This prevents wear and tear from weather conditions.
- Check for Cracks or Chips: Small cracks can become big problems if ignored.
A well-maintained ramp can last for years, giving you endless opportunities to perfect your tricks.
Conclusion: Time to Shred!
Building your own backyard skate ramp is a rewarding project that pays off every time you step on your board. It’s more than just plywood and screws; it’s your personal skatepark, practice ground, and creative space—all in one.So grab your tools, follow these steps, and start building. Before you know it, you'll be landing new tricks right in your backyard.
Now the only question left is—what’s your first trick going to be?
all images in this post were generated using AI tools
Category:
SkateboardingAuthor:

Nelson Bryant
Discussion
rate this article
1 comments
Mateo Barrett
Dream, build, ride freedom!
September 7, 2025 at 4:33 AM
Nelson Bryant
Thanks! Embracing creativity and freedom is exactly what building your own ramp is all about! 🛹✨